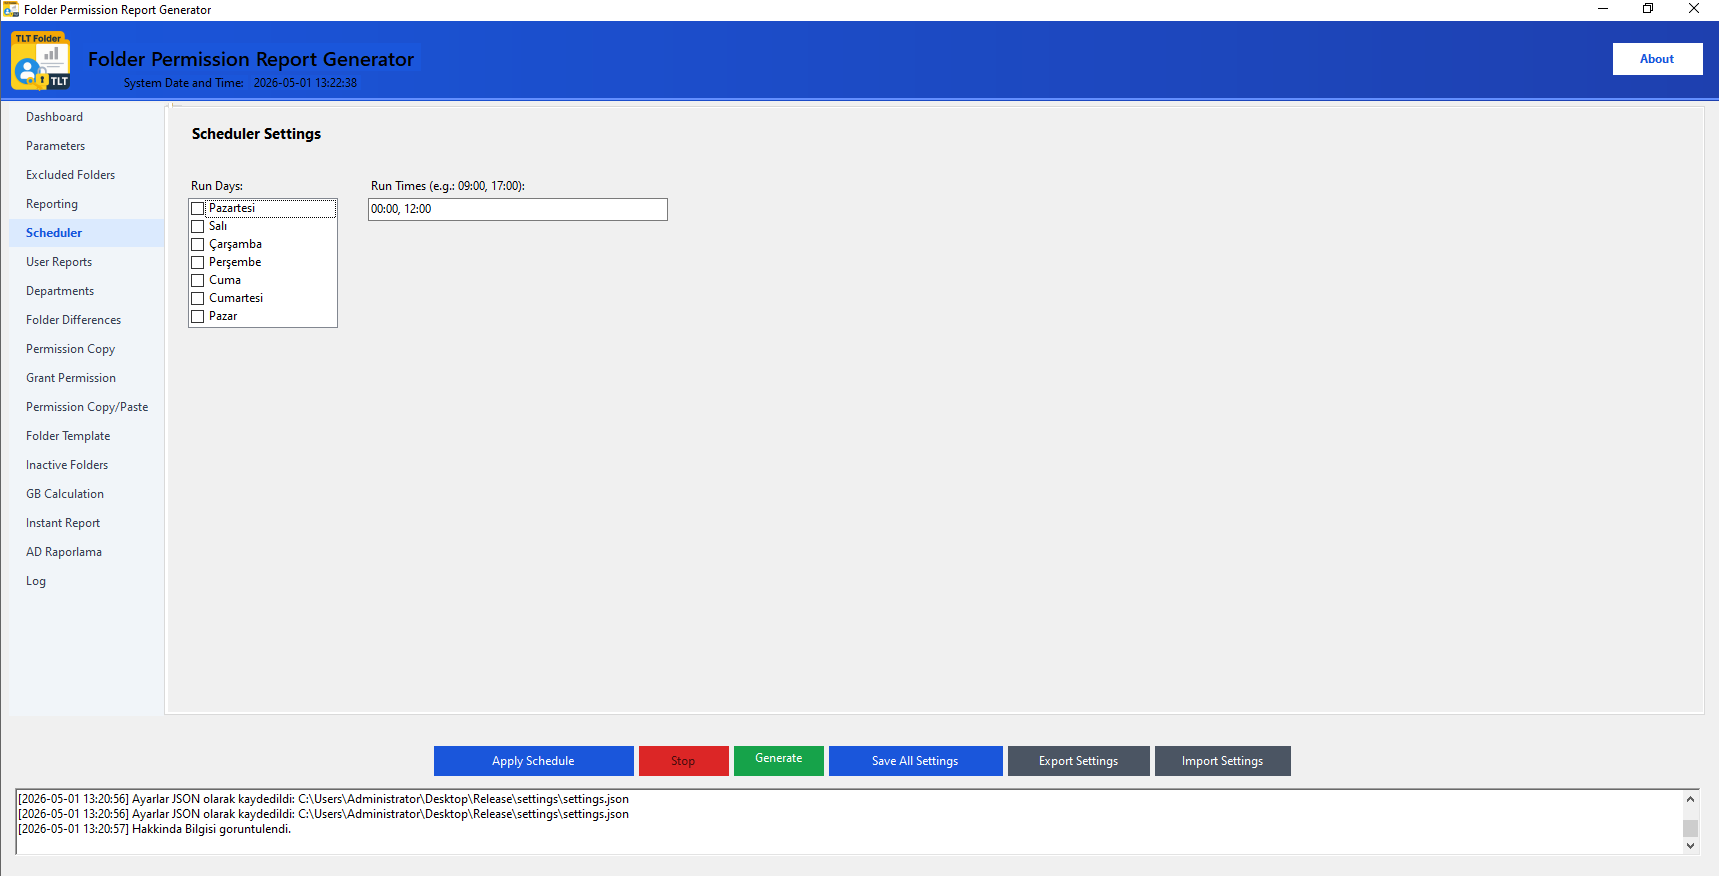
ACL Editing
Grant Permission
Add or remove folder permissions for AD users/groups; manage inheritance options.
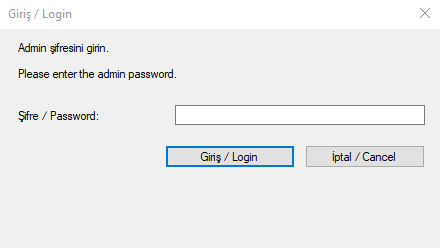
🔒 Security: The Grant Permission tab requires an admin password. The password is created on first launch.
Steps
- Log in with the admin password.
- Select the target folder with Select Folder.
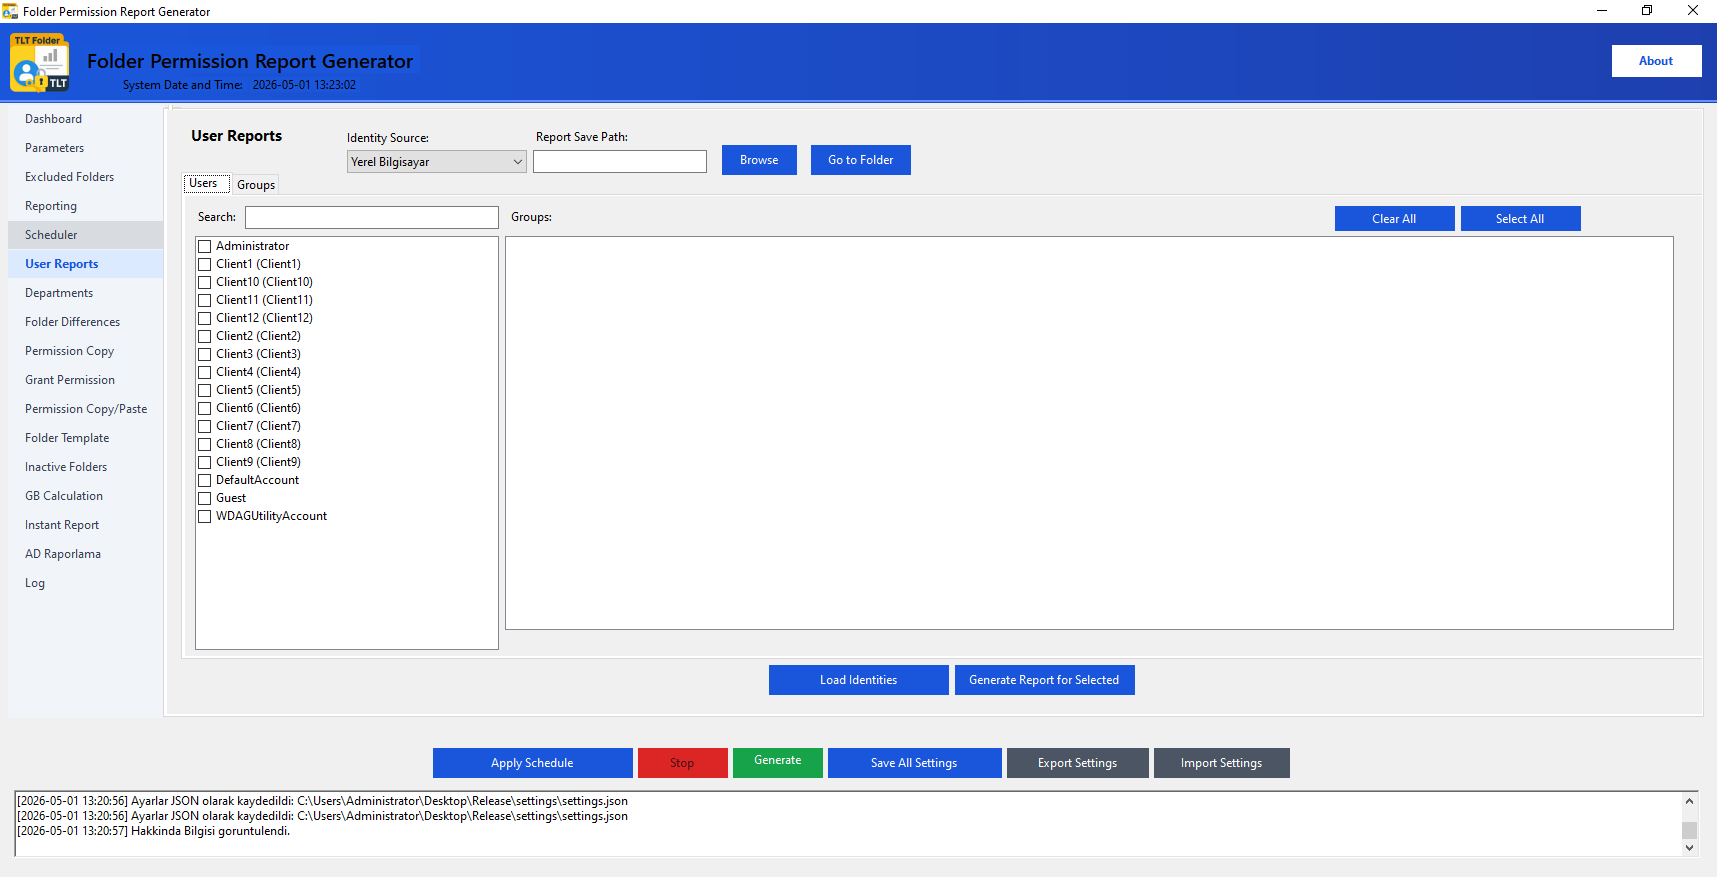
- Check identity/identities from the Groups or Users tab.
- Select permissions from Permission Management.
- Set the type to Allow or Deny.
- Configure inheritance options.
- Click Add Permission or Remove Permission.
Inheritance Options
- Enable Inheritance: Inherit permissions from parent folder.
- Disable Inheritance: Create an independent permission structure.
- Remove Existing Inherited Permissions: Start clean.
- Apply to Subfolders: Propagate selected permission to entire sub-structure.
Activity Detection
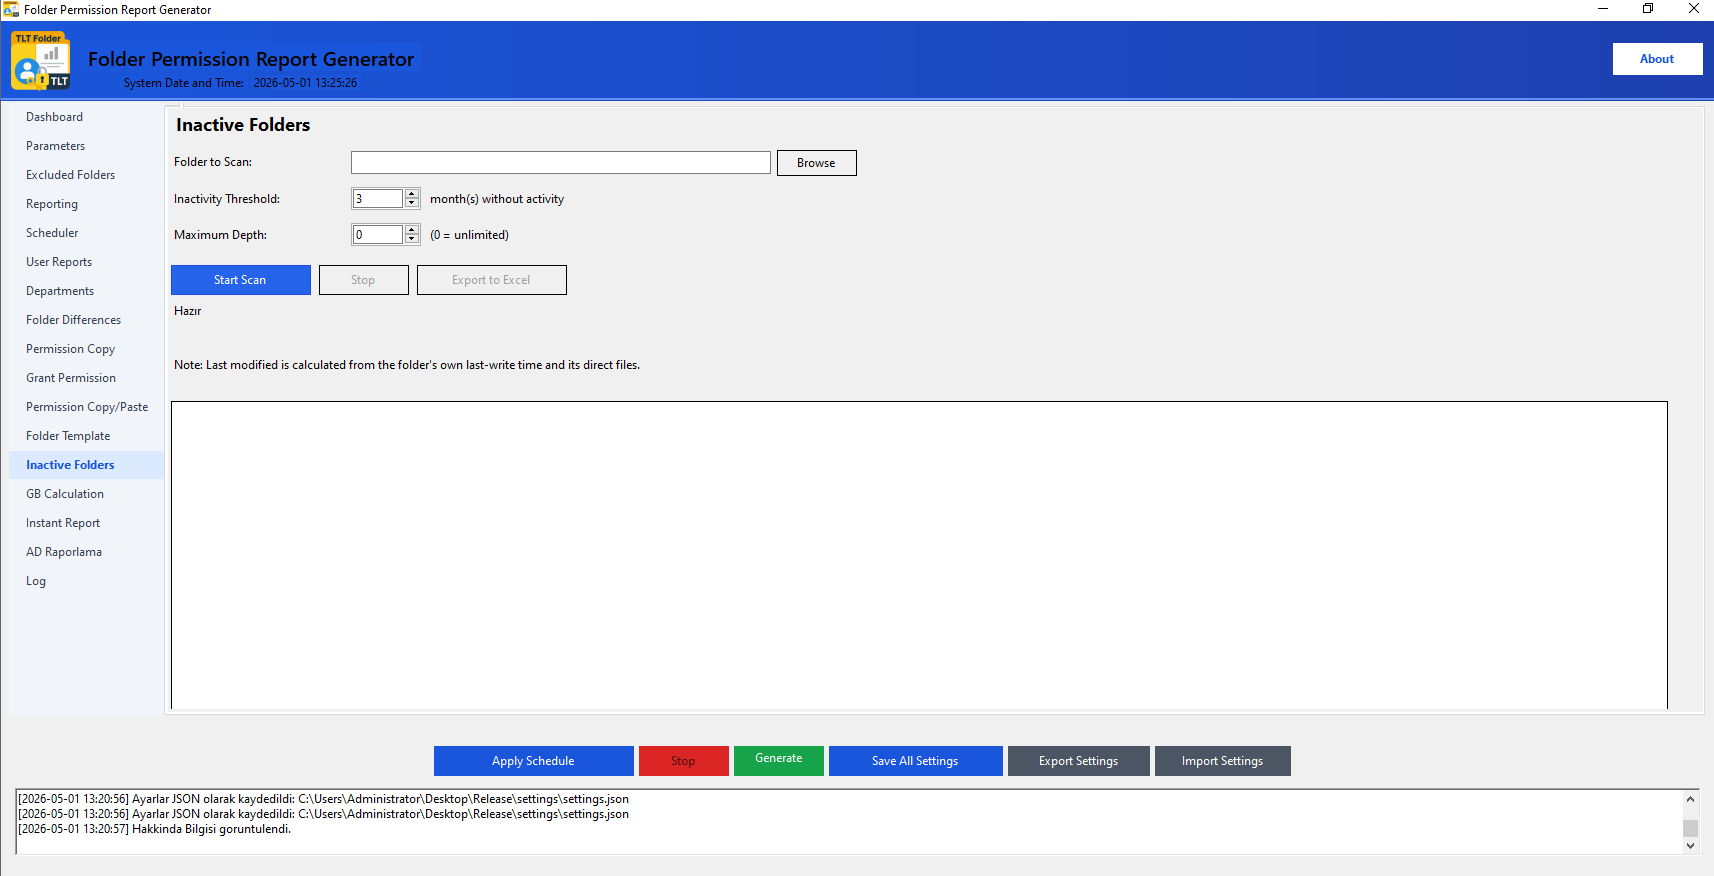
Inactive Folders
Detect folders that have had no activity for longer than your specified number of months and export to Excel.
💡 Tip: If Maximum Depth is left at 0, all subfolders are scanned. For large directory structures, starting with a limited depth (e.g. 3–4) speeds up the scan.
Steps
- Select the Folder to Scan (using Browse).
- Enter the Inactivity Threshold (how many months inactive, e.g. 3).
- Set the Maximum Depth (0 = unlimited).
- Click Start Scan.
- When complete, found folders are listed in the grid.
- Click Export to Excel to save the results.
Use Cases
- Detecting idle folders unused for months.
- Disk cleanup and archiving planning.
- Analyzing access patterns during security audits.
- Folders exceeding 730 days (>2 years) are highlighted in red.